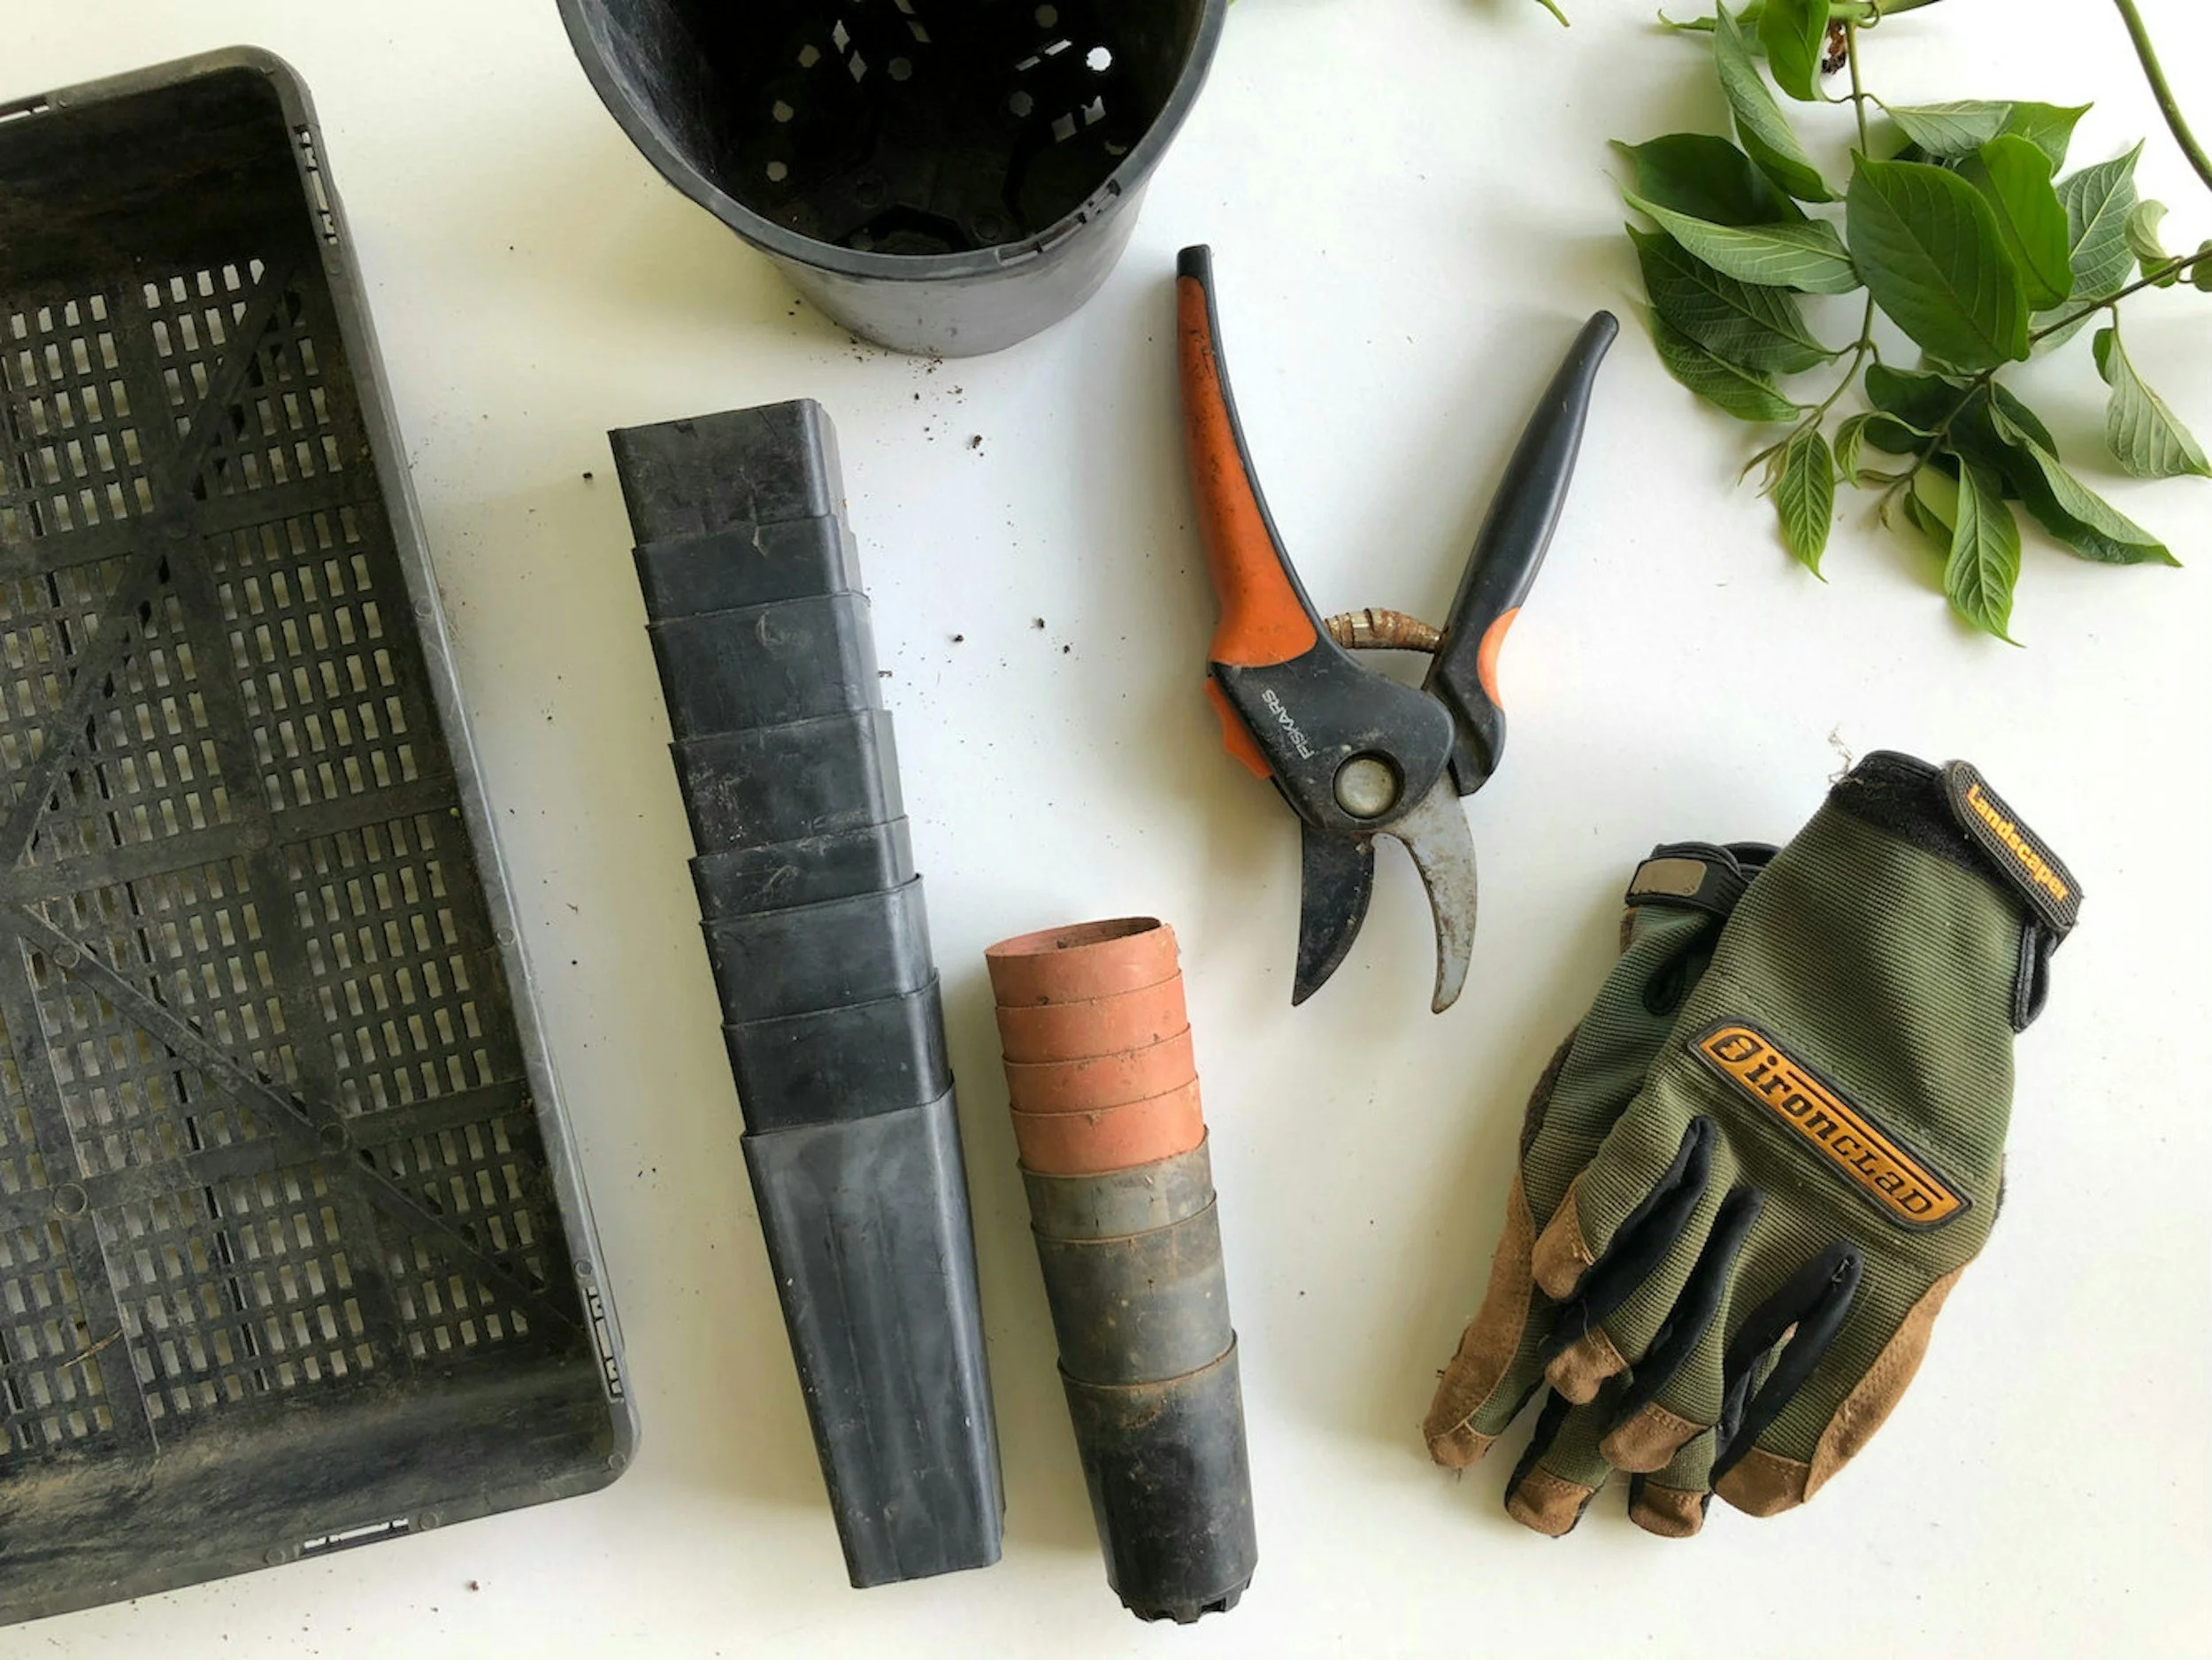
The Best Garden Tool is A Good Plan: Tips on Creating Your Own
The Merriam-Webster Dictionary has a few definitions for the word “tool”. The first, a hand-held instrument or device that aids in accomplishing a task, is the definition that readily comes to mind. But more expansive is the second definition which notes that:
A tool is something used in performing an operation or necessary in the practice of a vocation or profession; a means to an end. Well then, based on that definition, my favorite garden tool is a good plan.
You need a plan for what you are going to grow. A plan for where on your property you are going to grow it (and more specifically where in your garden beds you are going to locate everything you want to grow.) Lastly, you need a plan for when you are going to plant everything.
This What-Where-When Plan is what will keep you from getting overwhelmed.
A garden plan helps you organize and maximize your growing space. It can also help you save time and money. With a plan in place at the start of the season, you just need to stay the course.
Step One: Set Your Priorities
When deciding what to grow its best to start with a wish list. Then prioritize everything on your wish list. Separate the list into three buckets: Identify your “Must-Haves”; next identify the items that are important but not essential; and thirdly, the items that are desirable but not important. This list helps you focus on what crops get first dibs on your available growing space.
It is important to know what Planting Hardiness Zone you are located in because you want to be sure that the items you want to grow can actually be grown successfully in your area.A garden that addresses what is essential and important to you, as well as what is more likely to successfully grow in your zone, will be a more fulfilling garden.
At Sweet Earth we select the focal flowers that are must-haves for each season. These are the flowers that will take center stage in CSA bunches and in our wedding bouquets and arrangements. My list of must-haves gets longer every year.
Step Two: Gather Information
Information and data make for informed decisions. When it comes to growing a garden, start with an analysis of your site. Survey the area and document things like sunlight, soil quality, and views and site lines. This exercise will help identify areas that are too wet, or have too much shade, or may be too rocky.
You need to consider the light exposure and site your garden accordingly. A garden needs about 4 hours of sunlight per day for herbs and greens, and at least 8 for most fruits, vegetables and flowers. When siting your garden keep in mind the shadows cast by your home, your neighbor’s home or nearby trees or hedges.
I strongly recommend having an initial soil test done and then repeating every fall. Soil tests reveal the health of your soil with respect to pH, level of organic matter and whether micro and macro nutrients are present at the recommended levels. Soil tests also provide recommendations for amending any deficiencies.
My garden mantra has always been to focus on growing healthy soil, a healthy plant is the happy consequence.
Some other important information to consider is your budget and your timeline. Deciding how much you will invest and how you will allocate your investment will help inform your plan. Your spending budget determines whether you start with seeds or invest in full grown plants, or a combination of both.
Step Three: Create a Schedule
Providing plants with a head start is very important, but planting too early indoors may result in plants that are tall and spindly. It is generally better to err on the side of starting your seeds too late rather than too early! A small plant can eventually catch up, but an overgrown, leggy plant that has been held in a seed tray or small pot too long may never fully recover its vigor.
You can set yourself up for success by creating a schedule. Refer to crop timetables, of which there are many available online, to learn when is the best time to start, transplant and harvest specific crops. This information is also available on the backs of most seed packets. Then, check the last and first frost-free dates for your area. I use DavesGarden.com.
You are then ready to create a planting chart. You can use garden planners available online, a spreadsheet program like Excel, or you can simply create one with pen and paper.
The main data points that should be included in a planting chart are:
the frost dates
the date to sow or start the seed
how best to start the seed (indoors or directly-sown)
the transplant date if started indoors
the expected date to harvest.
Seed packets will advise how many weeks before the last frost the crop can be seeded. It will also recommend whether it is best to seed indoors in a seed tray or directly into the soil outside, and advise how long the crop needs to grow before it is ready to harvest.
This data point is called Days to Maturity (DTM). One thing to keep in mind is that DTM is dependent on whether the crop is started indoors or directly sown into the garden bed. You may need to adjust the harvest dates accordingly. Below is the framework for a simple chart to get you started:
