Behind the Scenes of My Seed-Starting Setup (+ What You Need to Get Started)
I’ve had lots of questions about my seed-starting setup, so I thought I’d walk you through what I have and what you need to get started with your own seed-starting.
I mention a lot of supplies in this post. You can find most of them (plus some other recommendations) in my Amazon storefront here.
My Greenhouse
I purchased a greenhouse kit from a big box store and it has lasted me more than ten years. It was relatively easy to put together, but definitely a two-person job. I love being able to work outdoors earlier in the spring and later into the fall, and having a dedicated space to start my seeds and grow them on. A greenhouse is nice to have, but it’s certainly not required to start seeds—you can do that anywhere indoors!

Heat Mats, Shelving & Grow Lights
On a lot of my surfaces, I have heat mats to germinate my seeds. Most seeds require 65-75ºF to germinate, and heat mats provide that. Heat mats come in several sizes and you can find one that fits your space and needs.
To make more space for my seedlings, I’ve added shelves on my tabletops. I think they were originally closet organizers, but they work perfectly for more heat mats and seedling trays. Get creative with your setup, because you may find the perfect supply outside of the gardening section—or maybe you already have something in your home! I have also created more surface area reusing plastic crates that I have on hand.

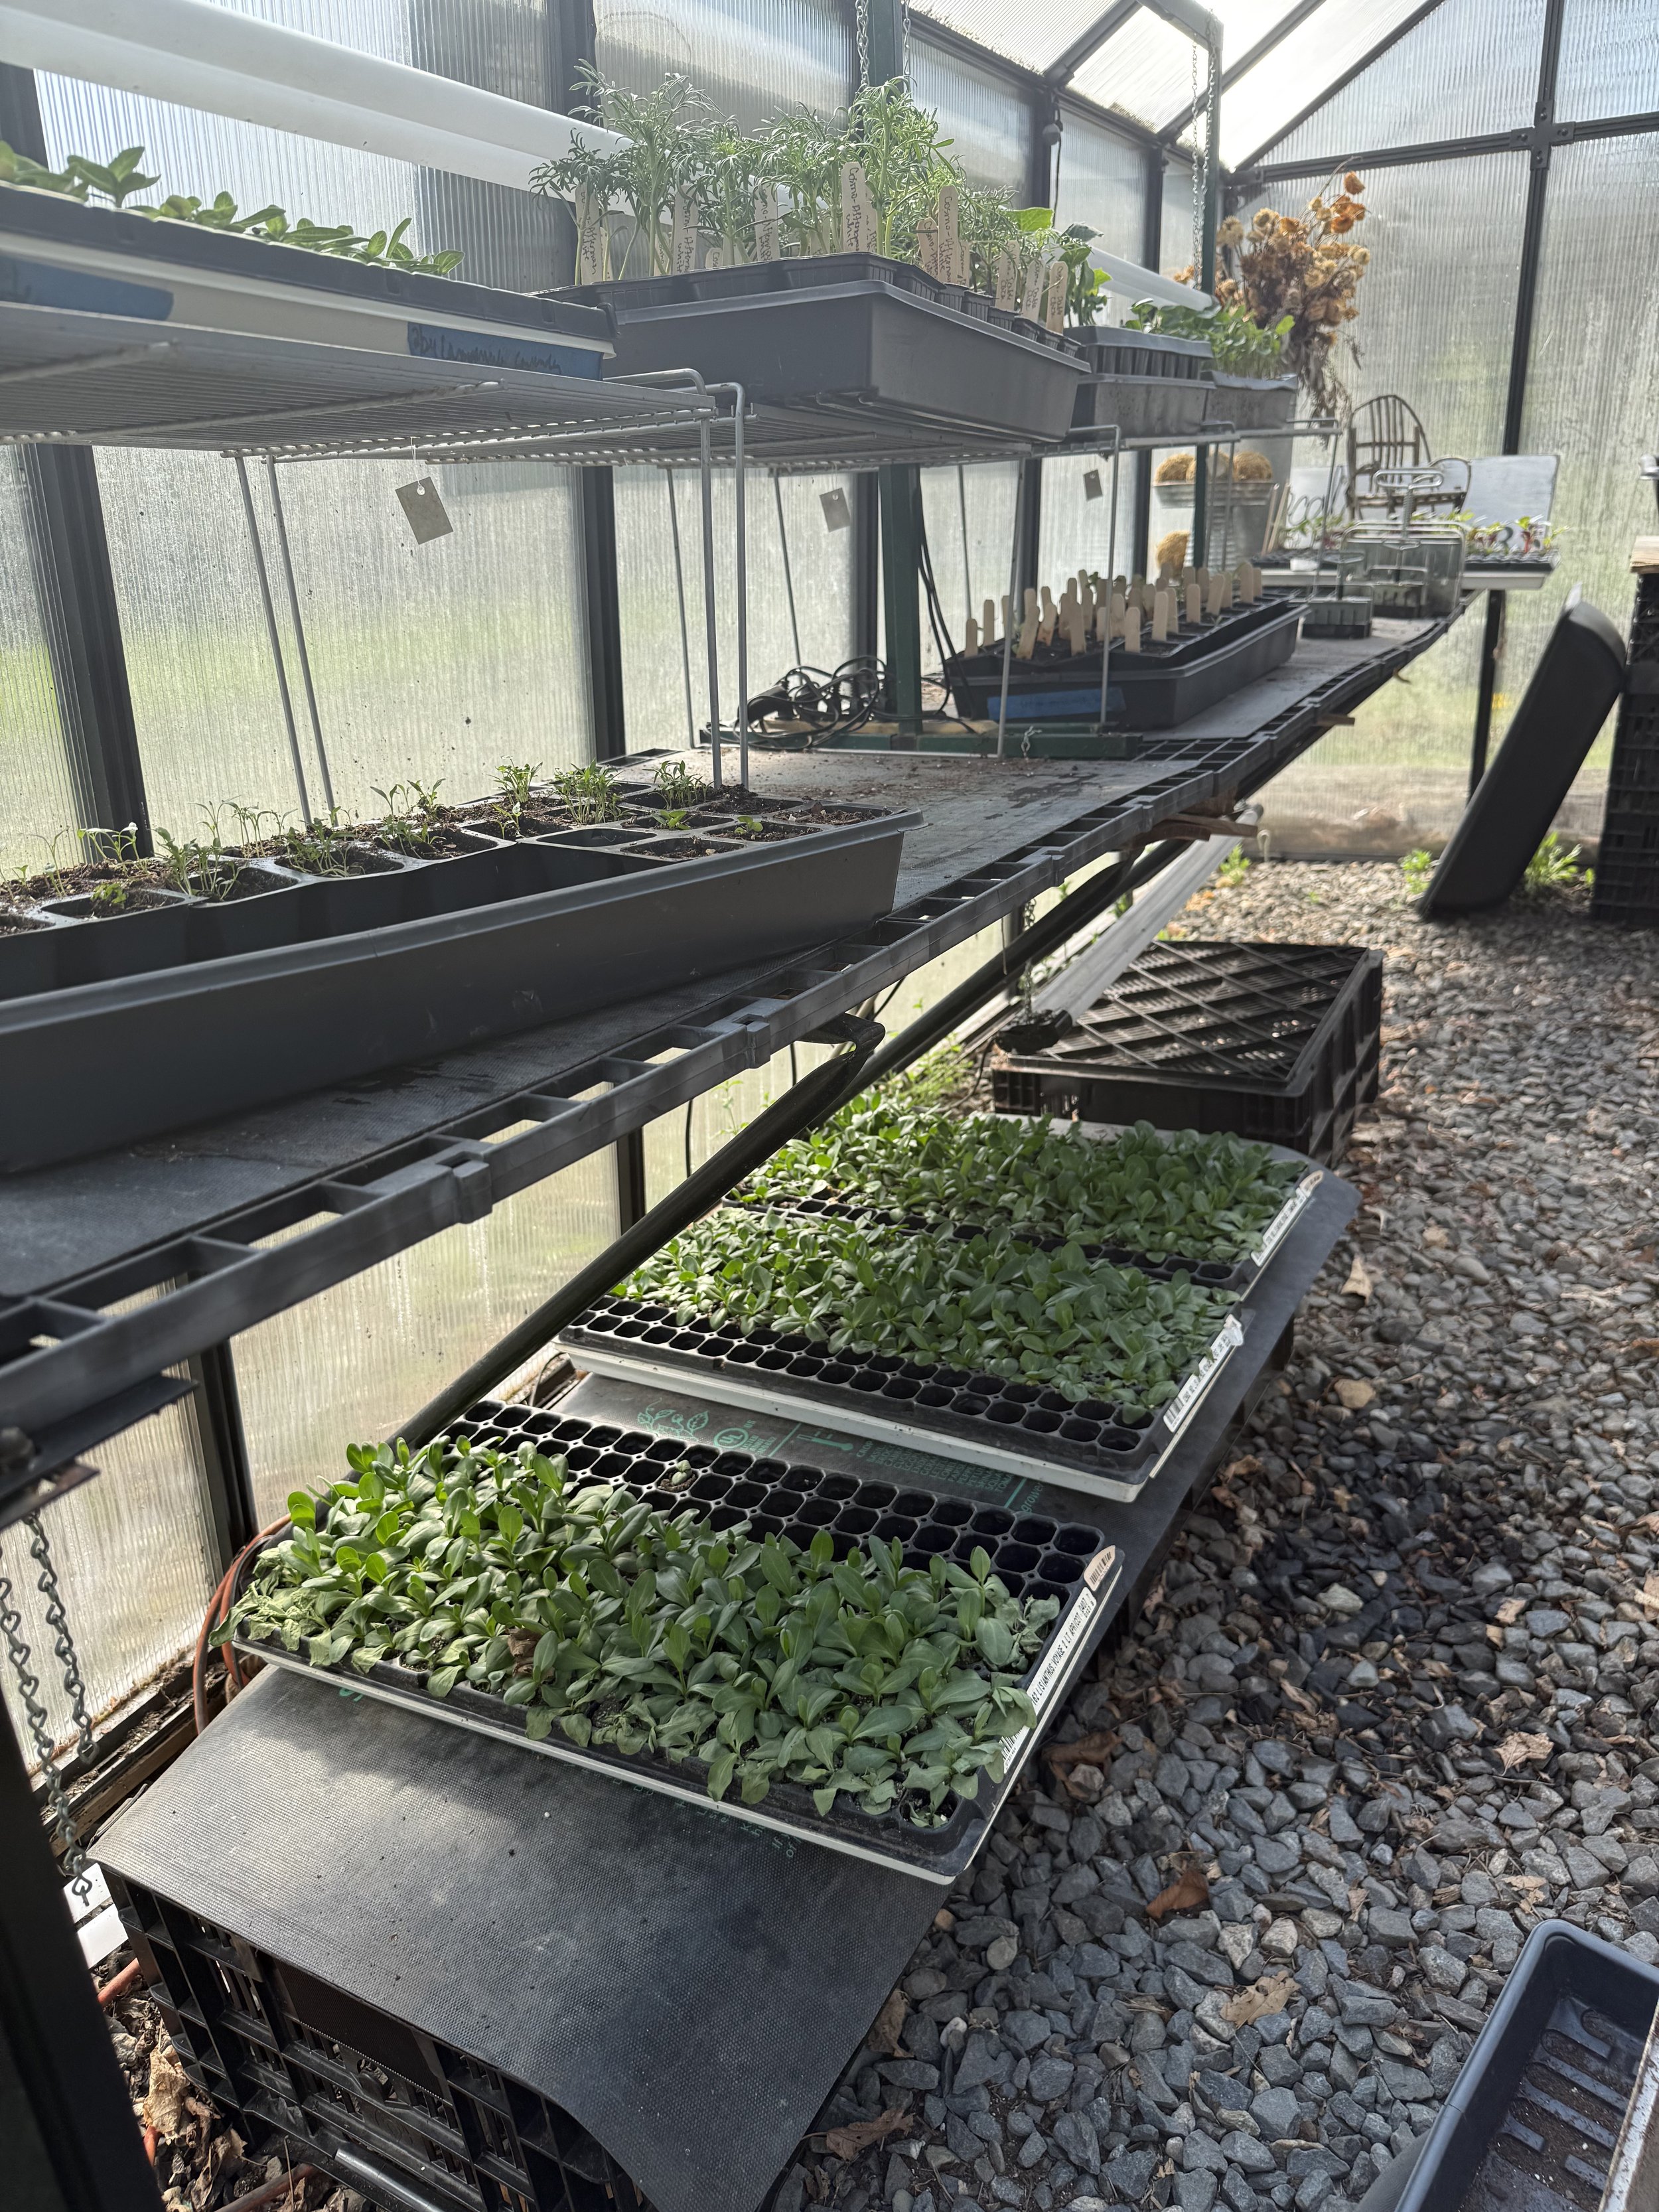
Above my seed-starting trays I have my shop lights to provide sufficient light for my seedlings once they have germinated. You don’t have to have specific grow lights: I find that these LED lights work just fine. Be sure to keep your lights 2 to 3 inches from your seedlings, any farther and your seedlings will stretch for the light and get leggy.
Cell Trays & Domes
I use a variety of cell trays:
I start seeds in smaller plug trays
Then I bump them up to 2-inch or 3-inch pots
I use deep-rooted pots for seedlings that don’t like to have their roots disturbed, such as sweet peas
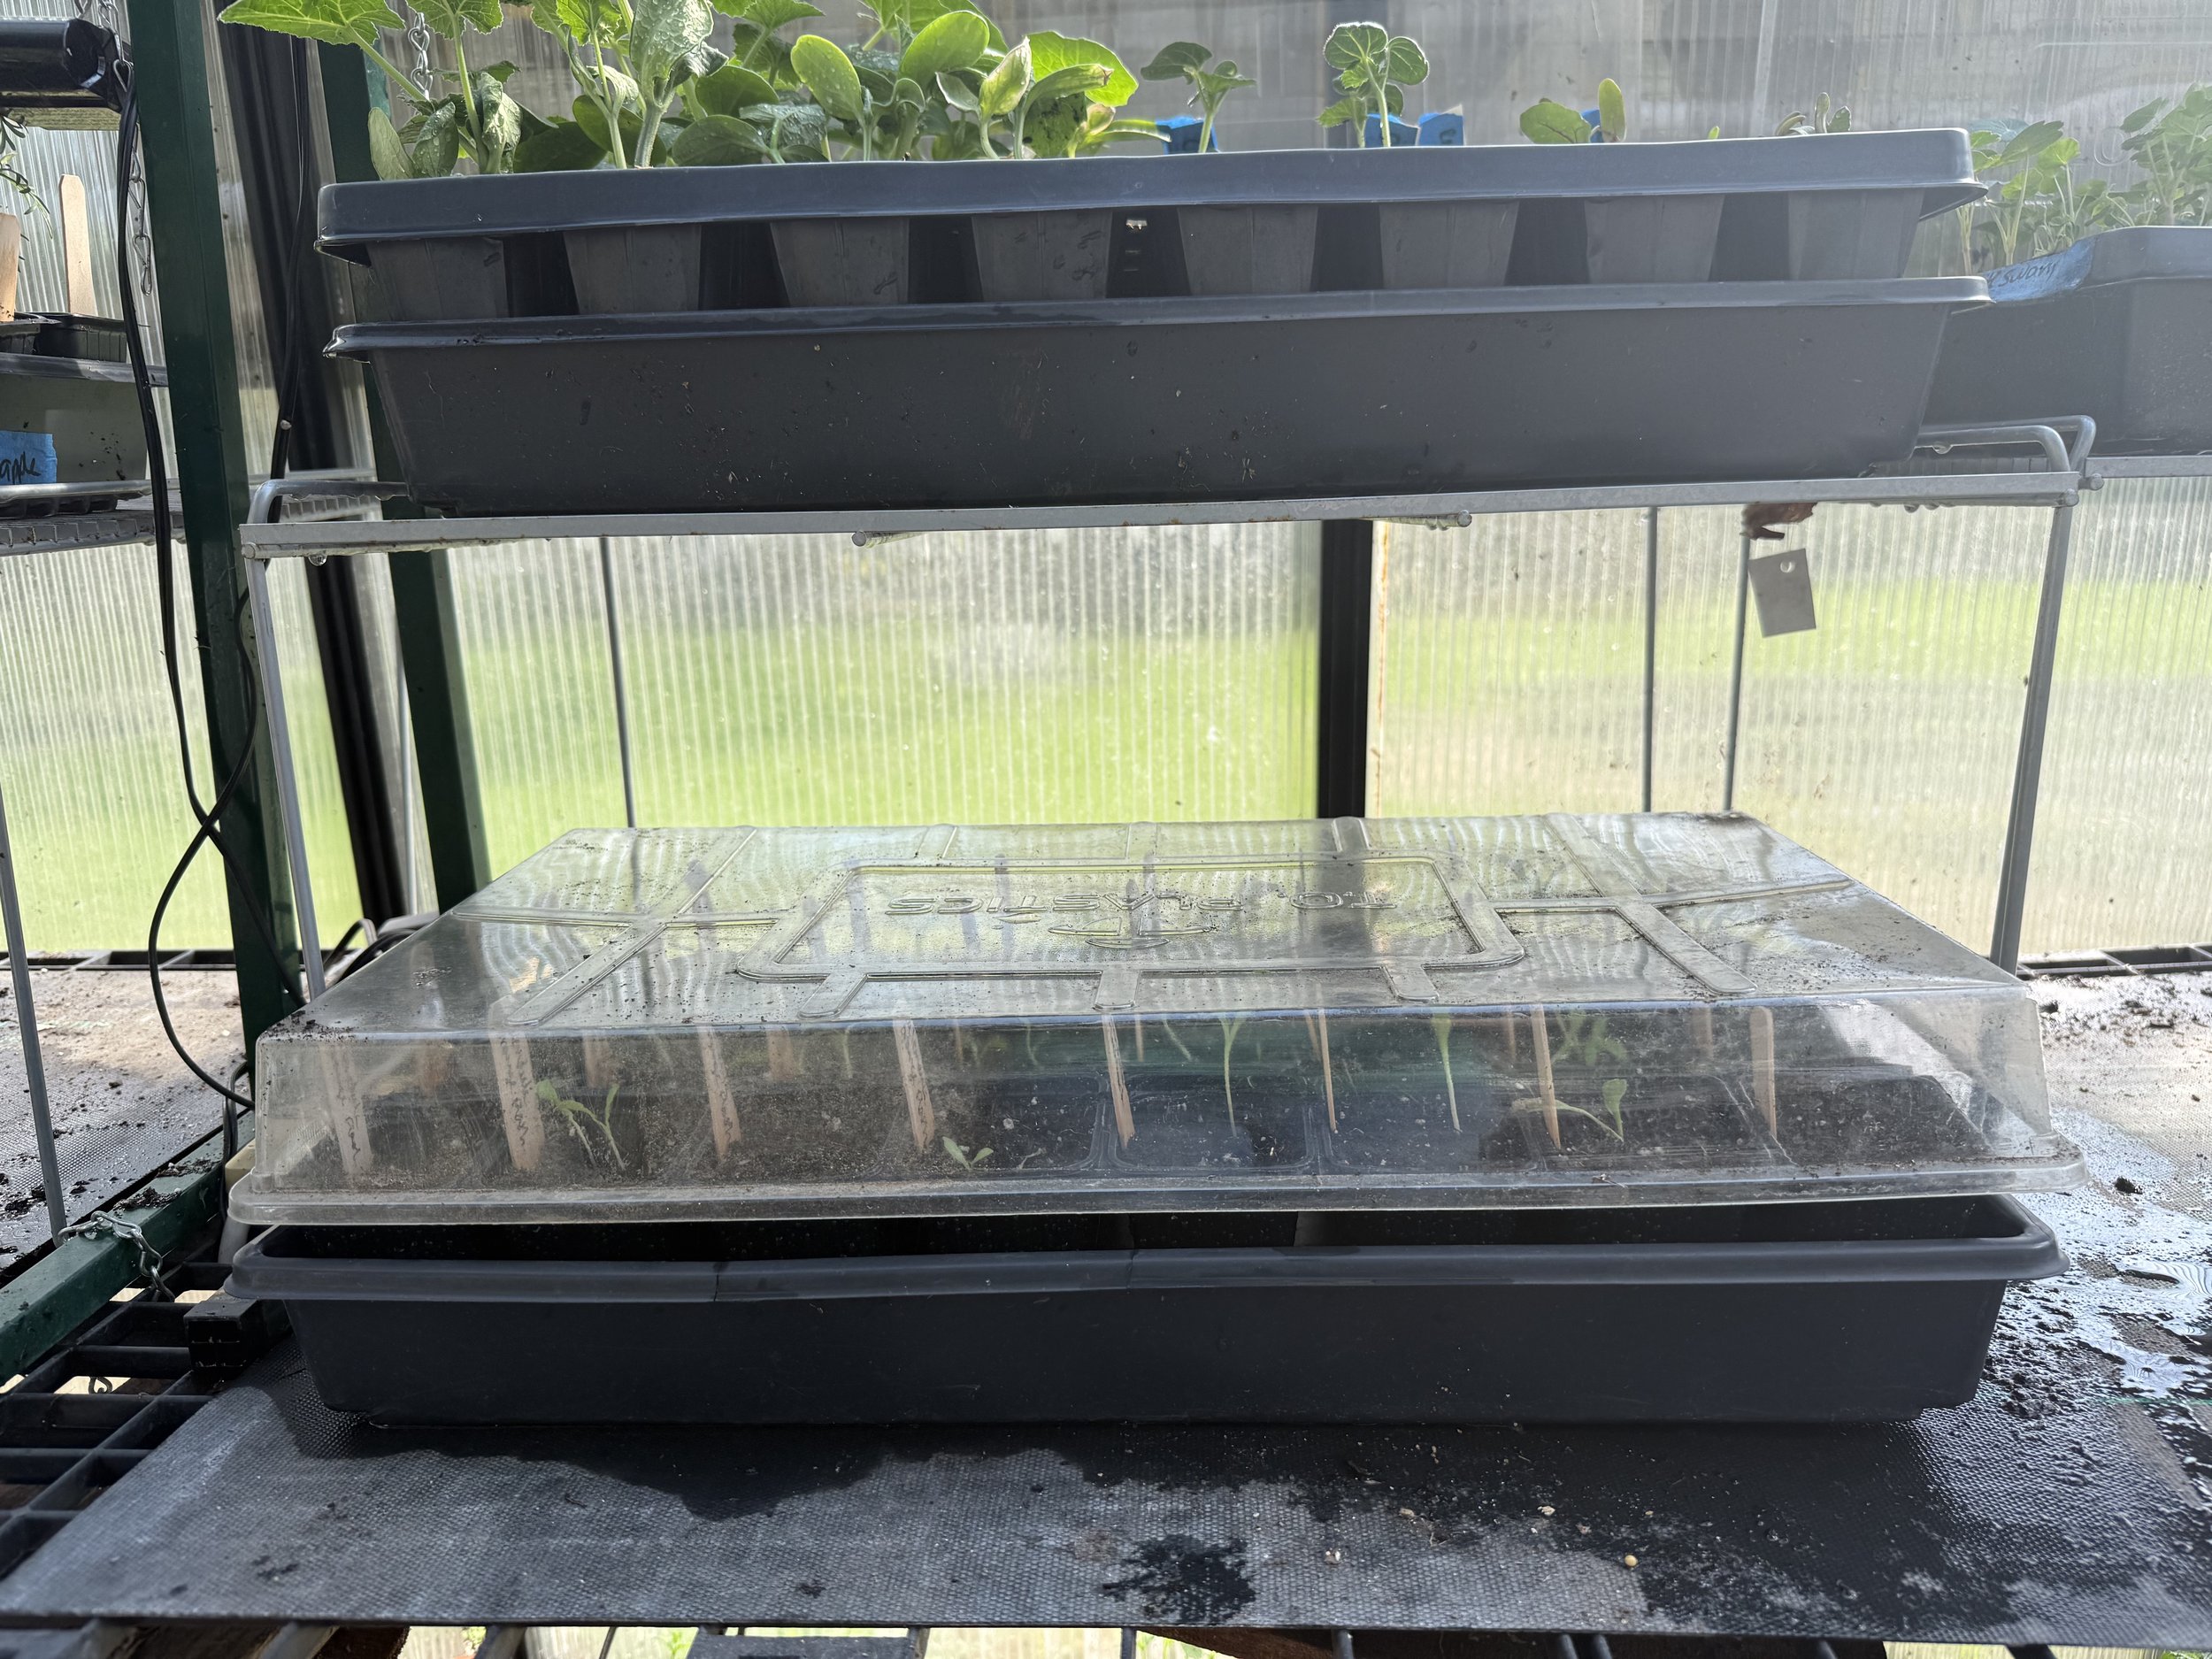
I cover the cell tray with a dome to maintain the humidity which helps with germination. It also helps keep critters from getting to your seeds or young seedlings. Many seed-starting kits will come with a cell tray, a bottom tray, and a dome.
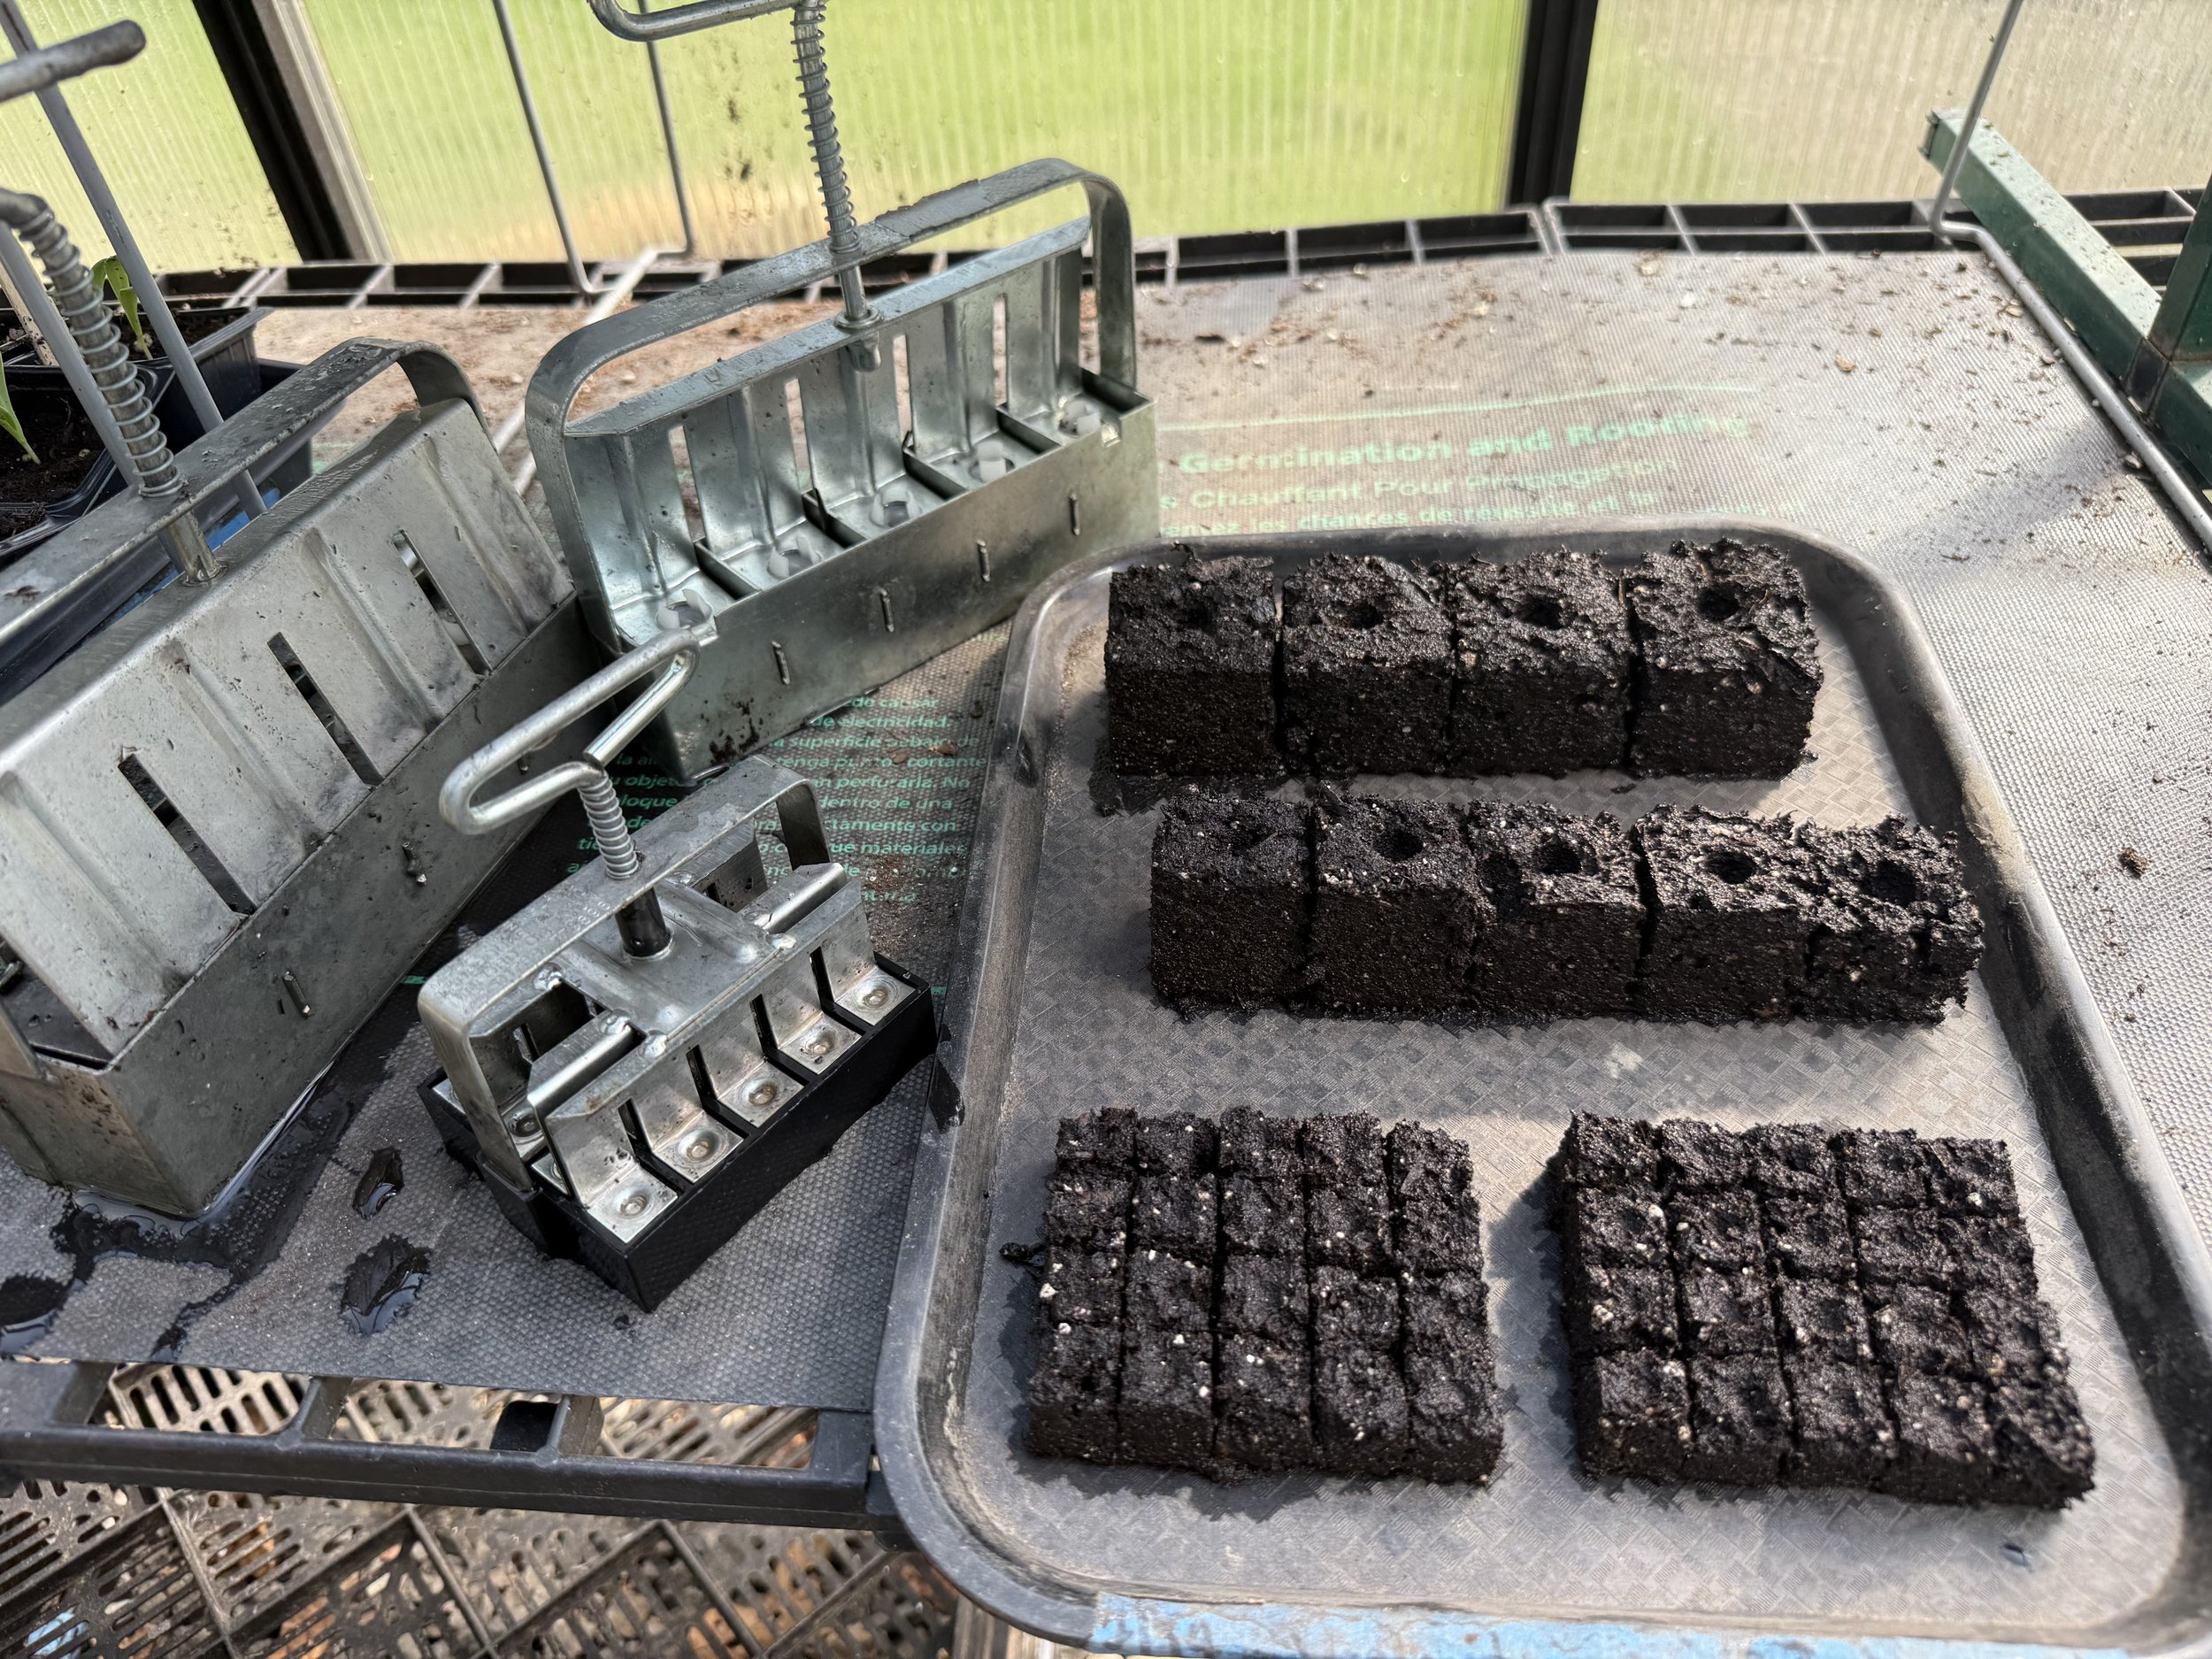
Soil Blocking
When I run out of space in the greenhouse, I start doing some soil blocking to maximize my space. Depending on which soil block size I use, I can fit anywhere from 32 to 120 seedlings on one tray. I use simple cafeteria trays for this.
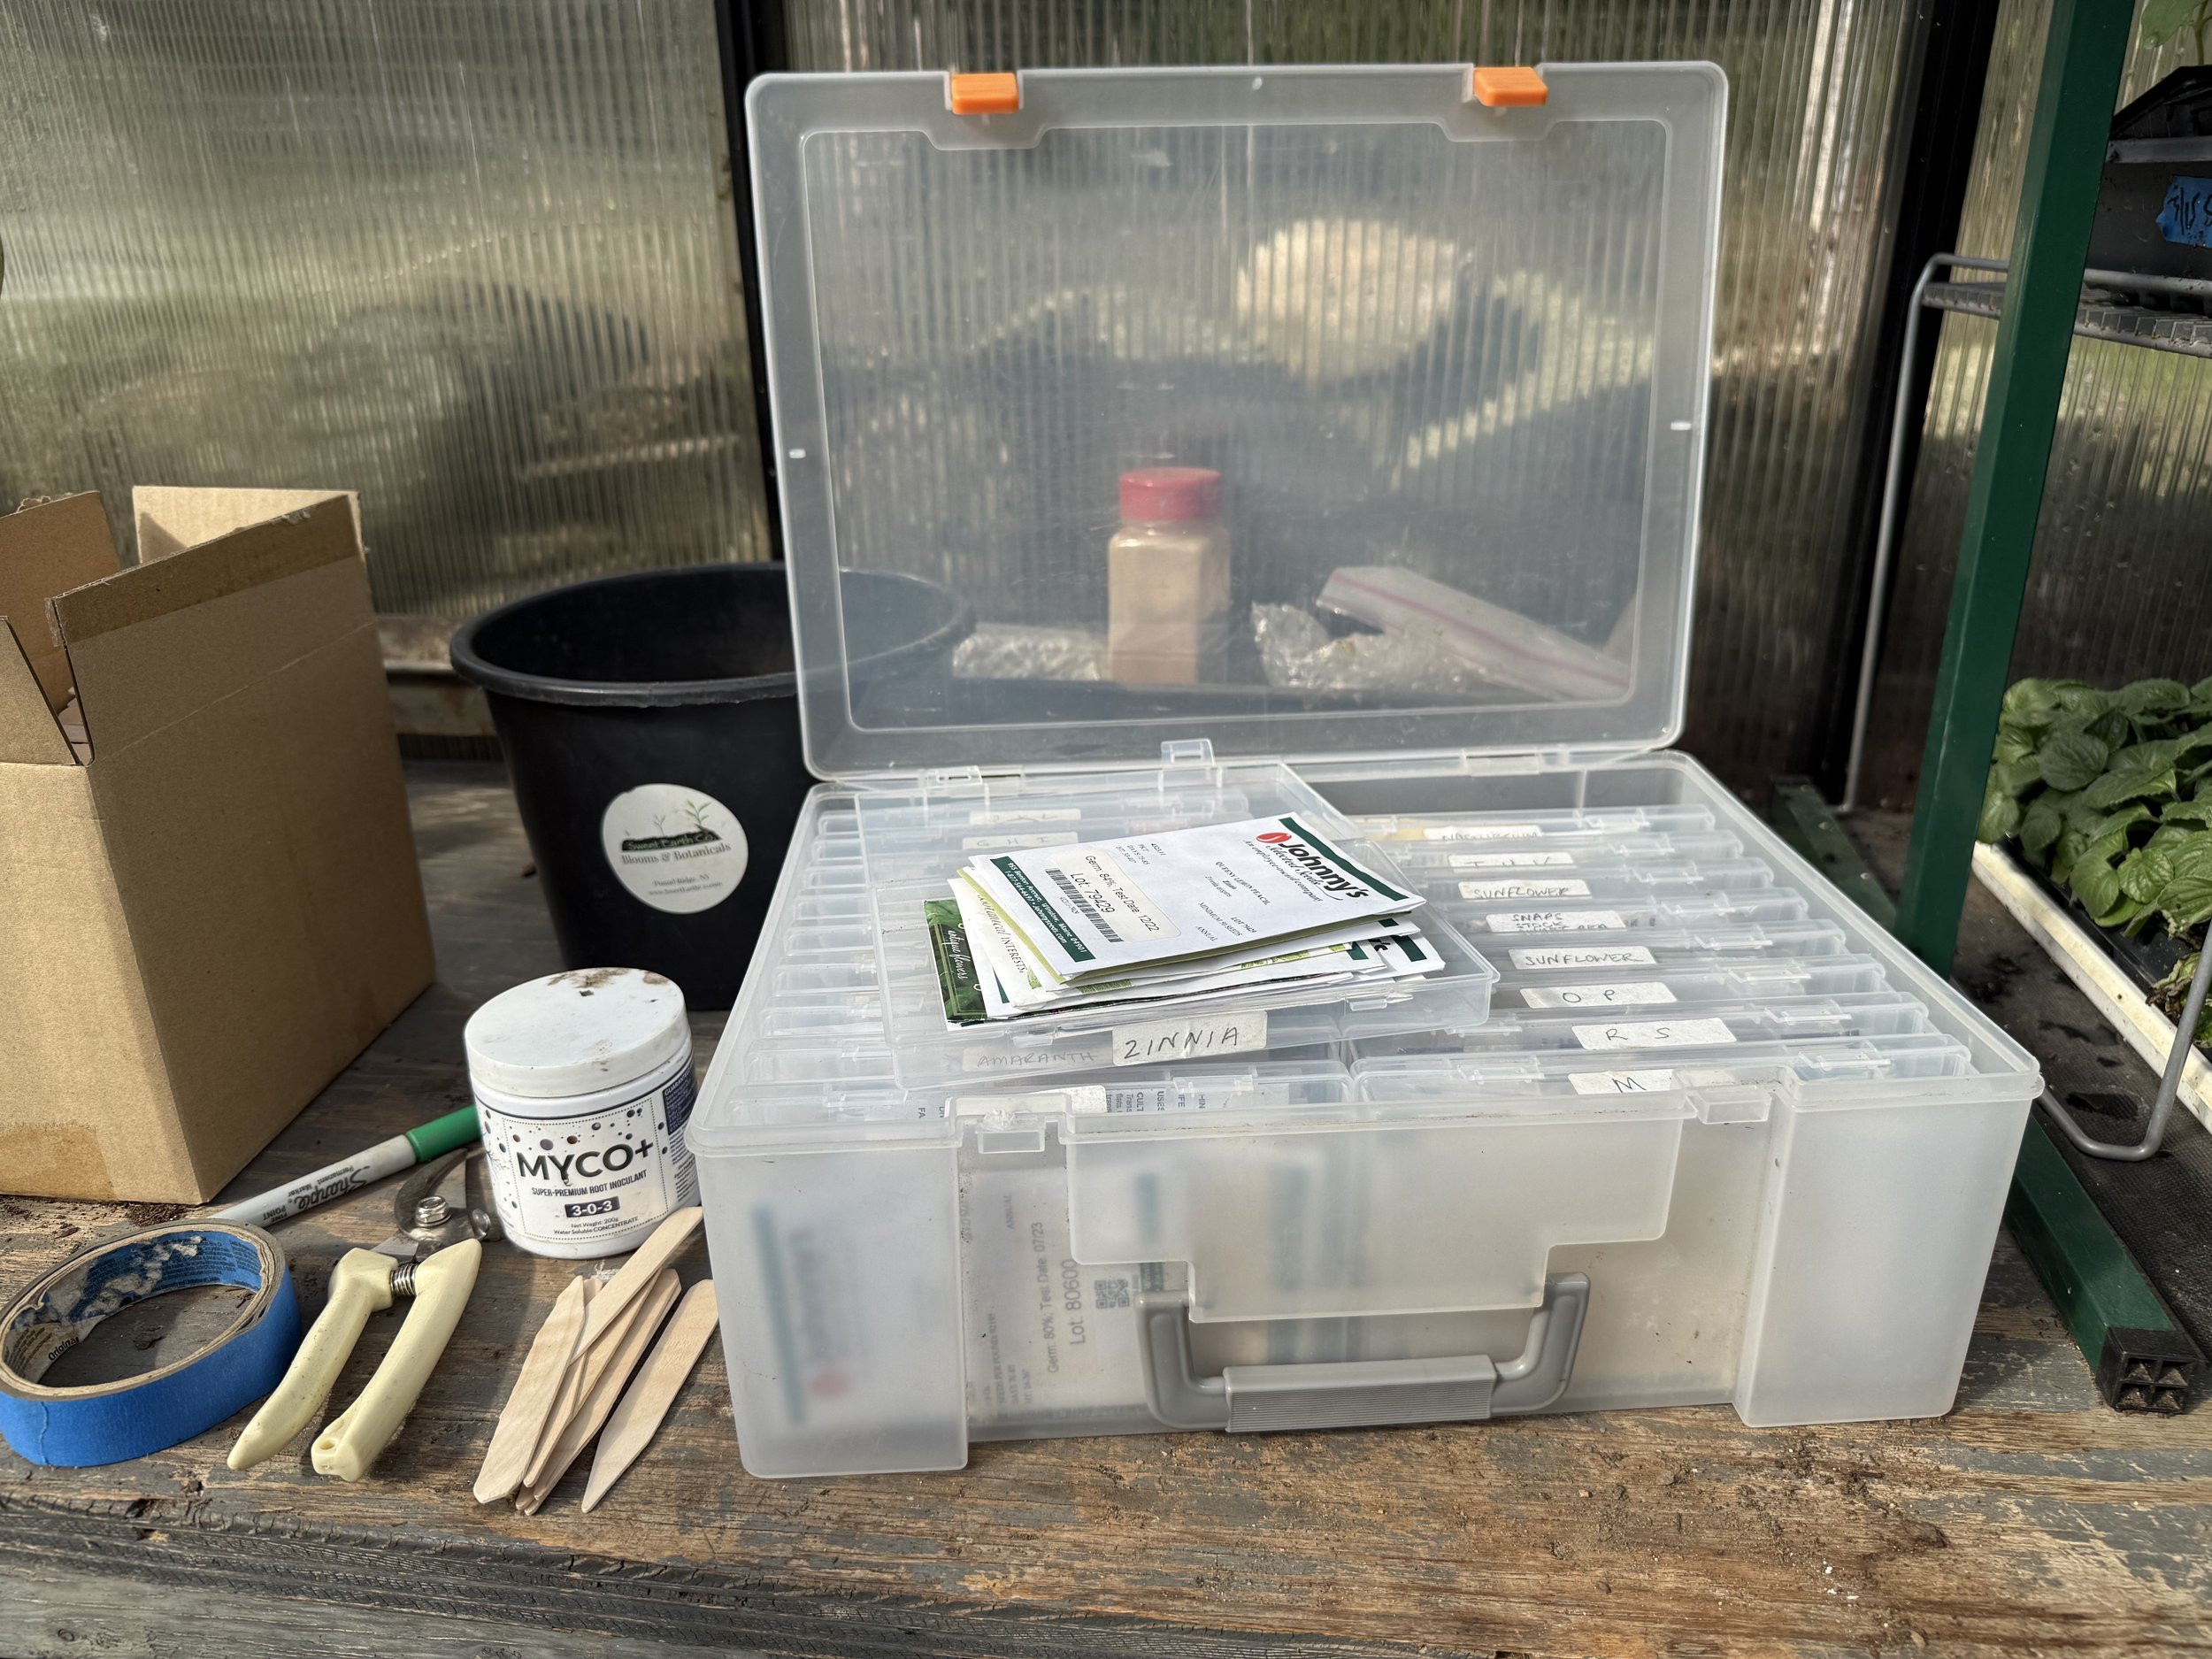
I also repurposed a photograph box for storing seeds—it’s the perfect fit! When it’s not in the greenhouse, I keep the seeds in a cool, dark place like a refrigerator or cooler.
Other Supplies
There are a few other things I keep handy for my seed-starting.
Bottom Trays: I put these under my seed-starting cell trays to water from the bottom.
Root Booster: I use a root booster when I’m bumping up my seedlings to a larger cell tray and I use it again when I plant the seedlings out in the garden. The one I like to use is called Myco+.
Labeling: I use painter’s tape, wooden labels, and water-resistant markers to label my trays.
Vermiculite: This is helpful to sprinkle on the tops of the cell trays after I’ve seeded, especially for seeds that only like to be lightly covered. It also helps to keep the soil moist. There are varying grades of vermiculite; be sure to use the “fine” vermiculite.
Bucket: I use a cement mixing bucket to hold my seed-starting mix.
Shade Cloth: These came with my greenhouse kit, and they’re great for protecting some of the seedlings from the hot sun.

You don’t need a ton of space to have a great seed-starting setup. The key is to have the essentials and keep everything organized. If you want to learn more about seed-starting, check out our masterclass that walks you through everything you need to know.
And as a reminder, my recommend supplies for seed-starting are in my Amazon storefront here.
